How to cook turkey perfectly
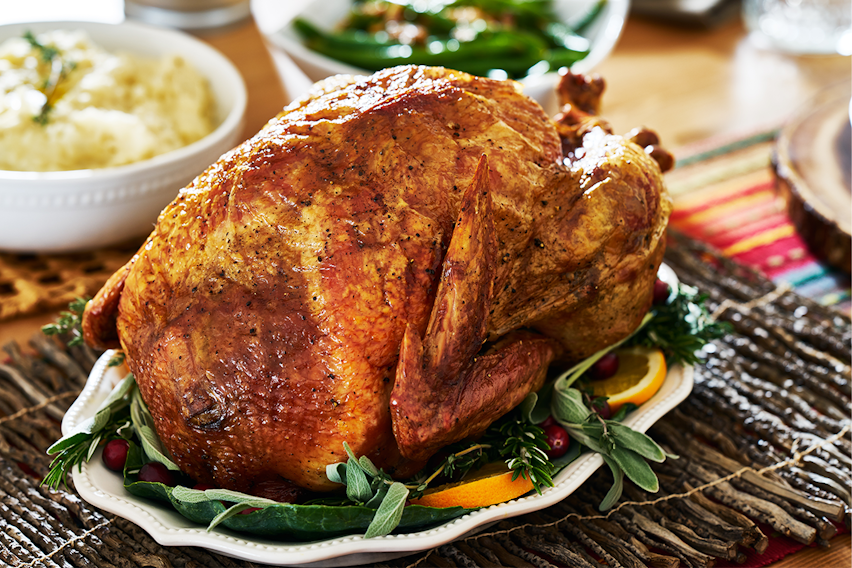
Christmas is coming and that means time to brush up on festive cuisine - stuffing, pigs in blankets, roast potatoes, brussel sprouts, Christmas pudding and most importantly, turkey,.
It’s the king of Christmas dinner, and consequently, if not cooked properly it can ruin the whole meal. So we’ve put together these handy tips to help ensure that your turkey is always perfectly cooked, moist, juicy and never ever dry...
Purchasing
When dealing with frozen or chilled food it is imperative that you only purchase from a reputable source - this is especially true of food for an occasion such as Christmas when demand is high and supplies might be low and the risk of counterfeit or otherwise impaired food is greater.
Stick to Manufacturers and suppliers you know and trust.
Is turkey an allergen?
No, turkey (or any kind of poultry) is not one of the 14 major food allergens. However, many people cook turkey with butter - butter is derived from Milk which is one of the 14 major food allergens.
Freezing
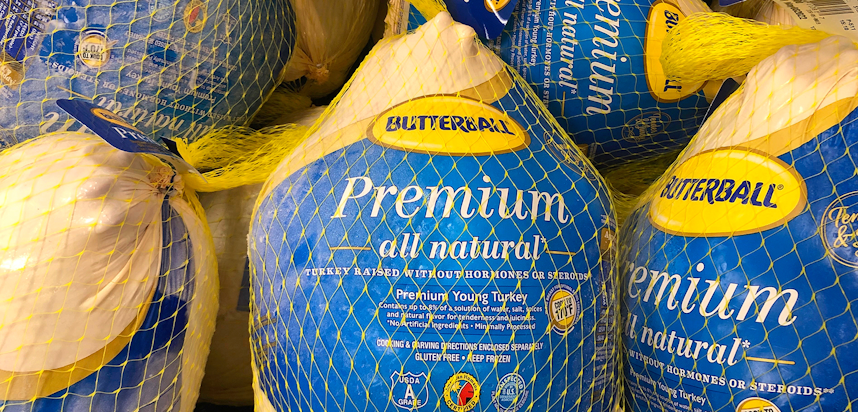
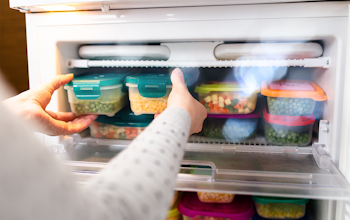
Freeze your turkey as soon as possible
If you are freezing your turkey between purchasing it and using it, be sure to do so before the use-by date. It’s best to do it as soon as possible, and you should never let a raw turkey’s temperature reach 8 degrees celsius or above.
Keep the meat air-tight
When freezing your turkey it's best not to remove any of the packaging, to ensure that it remains properly sealed. It’s important that the turkey (or any other meat) is in an airt-tight freezer bag or sealed wrapper in order to prevent freezer burn.
Defrosting
Don’t defrost on the fly
Defrosting something as big as a turkey takes planning in order for it to be done safely and effectively.
Depending on the size, a turkey takes between 3 and 5 days to properly defrost so plan your cooking schedule accordingly.
How to calculate defrosting time
The general timing rule for defrosting a turkey (in the fridge) is to allow 10-12 hours per kg of the turkey’s weight.
Use the fridge
Always defrost a turkey in a refrigerator and not outside at room temperature - it’s the safest and most consistent way to do so.
You should also make sure to place the turkey on a platter or tray with a lip so that any residual liquid does not leak onto the fridge shelf and contaminate it.
You may also be interested in…
You may also be interested in…
Food Safety Cheat Sheet: Chilling Foods Guidance
ReadBring to room temperature before cooking
Remove the turkey from the fridge half an hour before you intend to put it in the oven - this will bring the meat to room temperature and avoid the turkey shrinking once it goes into the hot oven.
Preparing
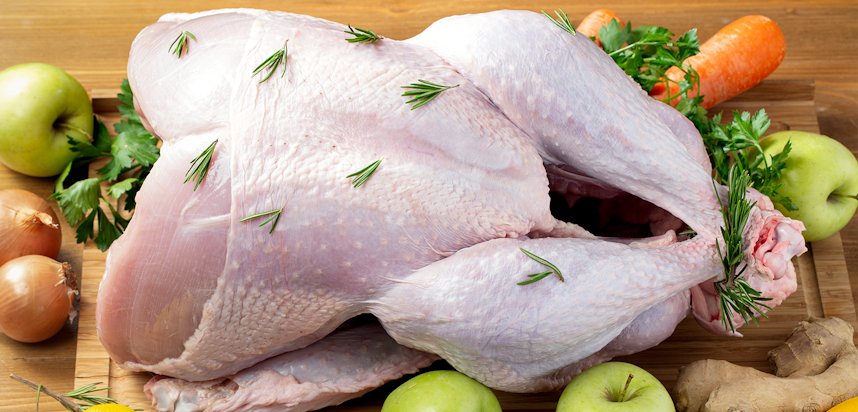
Don’t wash the turkey
You should never wash raw meat or poultry, as doing so is a hygiene hazard. Not only does it risk splashing germs and bacteria onto work surfaces, clothes and utensils, it is completely unnecessary and will do nothing to improve the meat.
And remember to wash your hands any time you have touched the raw bird to avoid spreading harmful bacteria around the kitchen.
Season in advance
Salting the turkey a couple of days before cooking (assuming it is thawed) is an effective - if surprising - way of cutting down on the amount of salt needed to season just before it's served or when it's being eaten. By rubbing salt into the turkey (both inside and outside) in advance, it has time to work its way into the meat’s protein and tenderise it slowly and evenly for the most succulent bird. This process is known as dry-brining.
Add apple juice to your brine
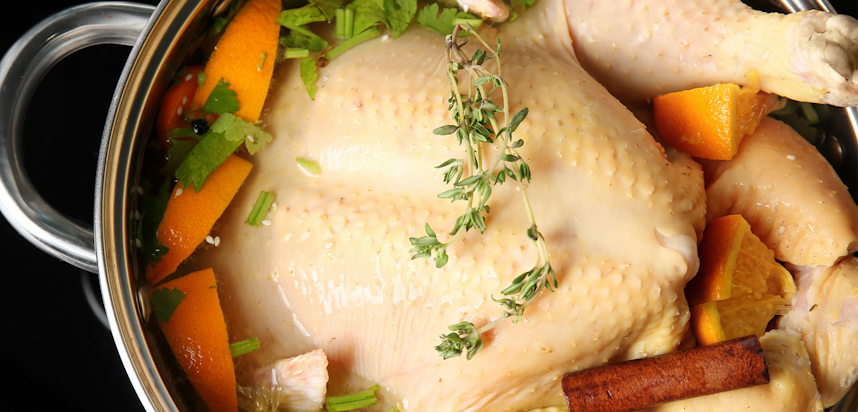
Want to add a kick to your brine to make it extra sweet and juicy? Add a dash of apple juice to hot water seasoned with dissolved brown sugar and sea salt. Stir in ice and submerge the turkey in it. Transfer the turkey and brine to the fridge and leave for 5-10 hours depending on the size of the turkey.
Oil the bird don’t butter it
Rub the turkey skin with oil (vegetable or sunflower) to lubricate the meat and make it juicier. Some people prefer to use butter on or under the skin but butter’s water content means that when it melts the fat will be distributed in patches and so some parts of the meat will be drier than others.
Be careful with trussing...
… You don’t want it to be too tight - trussing that’s too tight, as this will make the turkey cook unevenly with either burnt breast or raw legs.
Fill the roasting tin
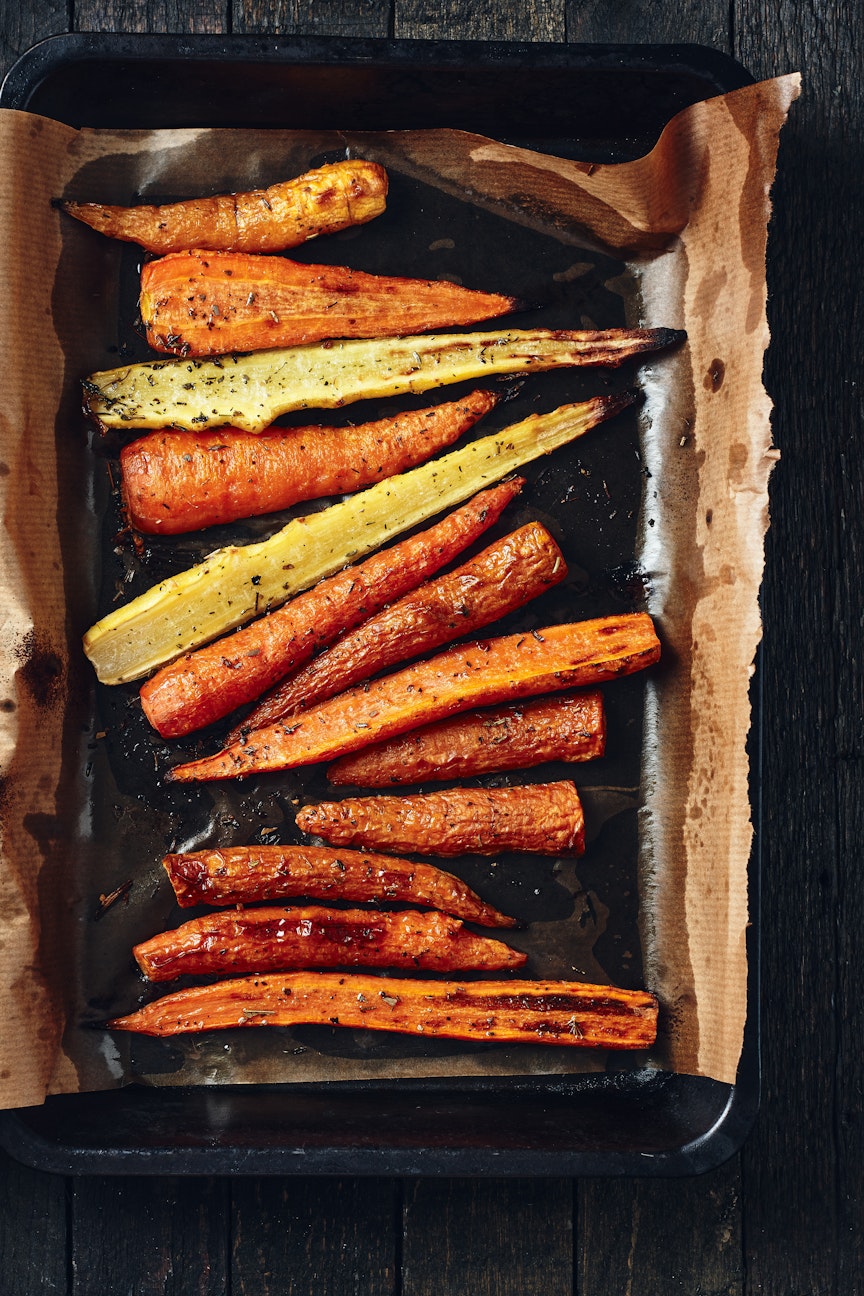
Place par-boiled carrots and parsnips in the roasting tin and put the turkey on top of them - this will prevent the turkey from sticking to the bottom of the pan and over-steaming and gives the vegetables extra flavour.
Make use of the giblets
If your turkey comes with giblets don’t waste them. Instead, place in a large saucepan, add water, some red wine and the herbs and vegetables of your choice (we recommend onion, carrot and bay leaves) and simmer for 40-45 minutes. Use a sieve to strain into a bowl or tupperware. You can then use it to either mix with the juice from the turkey pan and the water used to par-boil the vegetables and start a seriously tasty gravy, or freeze it to have the perfect stock to have to hand whenever you need it.
Why do we eat turkey at Christmas?
Turkey was brought over to England by Native American traders in the early 16th century, but it was not associated with Christmas until Ebenezer Scrooge bought the Crachit family a prize turkey at the end of Charles Dickens’s 1843 novel A Christmas Carol. At this time turkeys were too expensive for the average family, but once they dropped in price after the Second World War their popularity for festive dining became more widespread.
Cooking
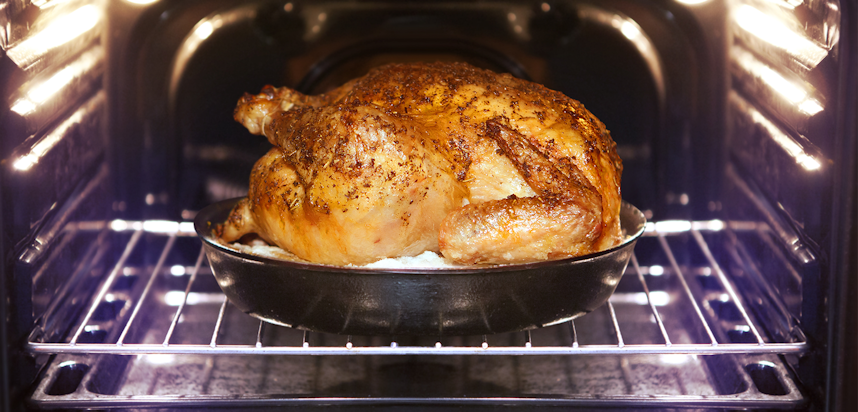
Preheat the oven sufficiently
This is crucial to a properly cooked turkey, and should be done at least 20 minutes before you intend to put it in the oven.
Cook stuffing separately
Turkey cooking times are generally calculated using the turkey alone. By putting stuffing inside the turkey these cooking times will go off-kilter and increase the risk of the turkey being undercooked.
Instead, roll it into balls and roast on a separate tray.
Use the correct cooking time
If possible, use the cooking instructions on the turkey’s packaging - the Manufacturer will have done research into the best way to cook their product and is the best authority on the subject.
If there are no instructions or that’s not possible you can use the following rule for an oven that has been preheated to 180 degrees celsius.
- Allow 45 minutes per kg plus 20 minutes for a turkey that weighs under 4.5kg
- Allow 40 minutes per kg for a turkey that weighs between 4.5kg and 6.5kg
- Allow 35 minutes per kg for a turkey that weighs over 6.5kg
Invest in a meat thermometer
Most recipes will call for the finished turkey to have an internal temperature of between 68 degrees celsius and 74 degrees celsius. Whatever your preference, the best way to make sure the turkey has properly cooked and reached this temperature is by checking the thickest part of the bird with a meat thermometer. It takes out the guesswork and prevents both under and over-cooking.
Cooking other birds
Not everyone has turkey for Christmas dinner - these are the recommended cooking times for other types of poultry:
- Goose - cook in a preheated oven at 200 degrees celsius for 35 minutes per kg
- Duck - cook in a preheated oven at 200 degrees celsius for 45 minutes per kg
- Chicken - cook in a preheated oven at 180 degrees celsius for 45 minutes per kg plus 20 minutes.
Baste in the last hour
For the last hour of cooking, baste your turkey every 15 minutes - you can use stock, butter, dripping from the turkey or even an equal mix of butter and a flavouring ingredient such as maple syrup.
Give the legs additional time in the oven
Even when employing the best and most reliable cooking methods, often the turkey legs will need longer in the oven than the breast. To get around this, remove the bird from the oven and then remove the legs before putting them back in the oven until they are perfectly done too.
After cooking
Let it rest
When it comes to serving the perfect turkey, sufficiently resting the meat is as important as all the other steps.
This is to allow the turkey fibres to relax and the juices time to reabsorb - if the turkey is carved before it has fully rested the juice will simply leak right out and the meat will be dry. Depending on the size of the turkey 30-45 minutes will be enough.
And don’t be tempted to cover the turkey with foil while its resting, as this will trap in stream and make it soggy.
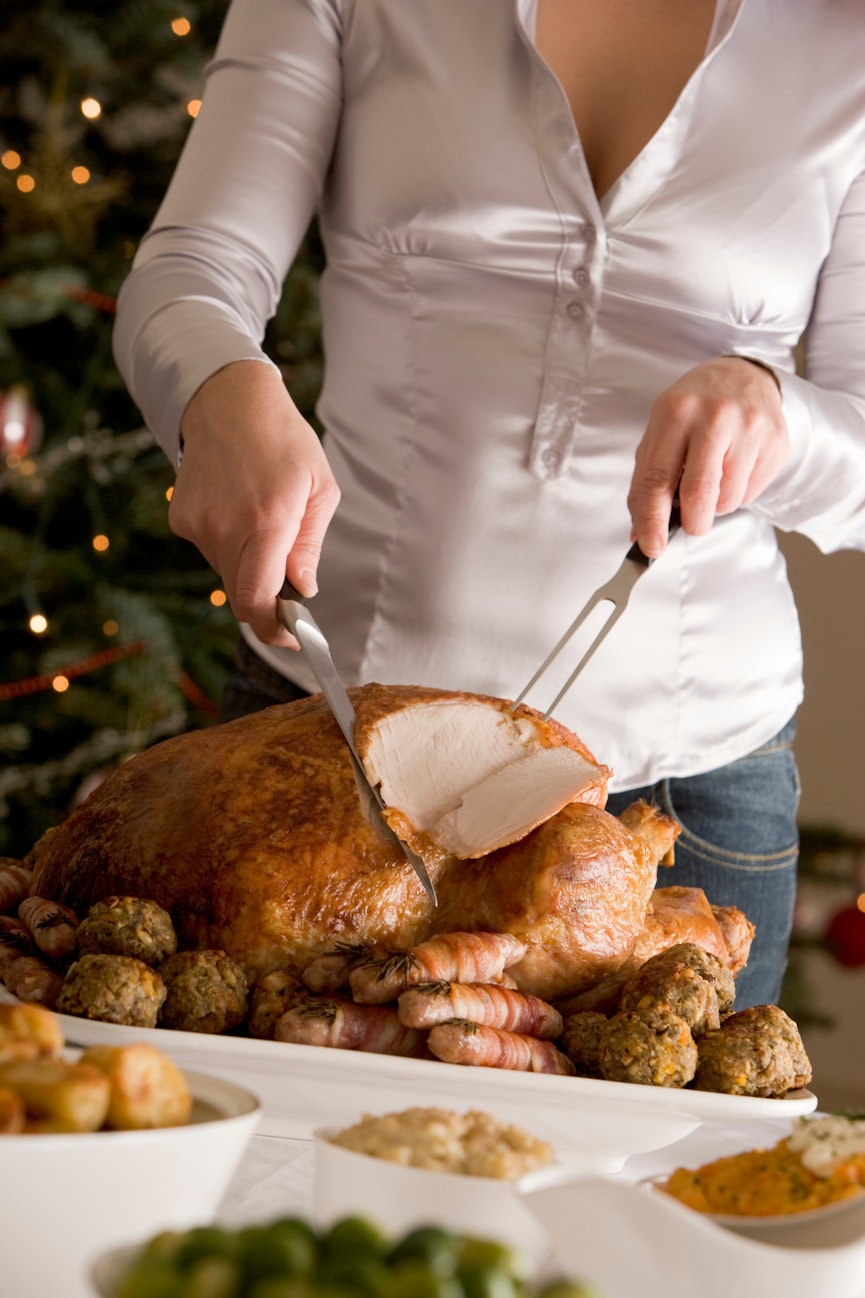
Master the art of carving
Carving the turkey properly will reduce waste and ensure that each portion retains maximum flavour.
In addition to any twine, the legs should be the first part of the bird to be removed, and it should be done so at the point where the legs meats the breast. Doing it here should allow the legs to come away cleanly.
Then carve the breast and wings by slicing along one side of the breast and then gently pulling away from the bone, Then do the same along the wing joint.
When not serving the turkey, keep it wrapped up
Air dries meat out - so when you’re not using the turkey keep it tightly sealed up so it remains moist. You can do this with tightly wrapped foil, or even a damp teatowel.
Keep those juices intact
If you’re serving turkey at spaced out intervals (for instance, in a restaurant) you may have to reheat it. When reheating, add a ladle of stock or some butter to the portion and cover over with foil before putting it in the oven. This will keep it moist and prevent steam escaping and taking the meat juices with it.
You may also be interested in…
You may also be interested in…
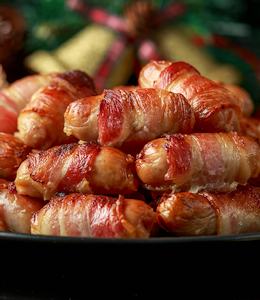
Everything to know about pigs in blankets
ReadYou may also be interested in…
You may also be interested in…
